
Ads by Daugava or Brought by Daugava is an annoying adware application which can pop up endless ads on web pages you visit. If your browser shows ads like “by Daugava”, “Daugava Ads”, “Ads by Daugava”, “Brought by Daugava”, then you should think about your computer being infected by Daugava malware. Needless to say, this adware is a real pain. There are some tips for you to follow to get rid of Ads by Daugava completely.
About Ads by Daugava.
How to Protest My Computer From Being Infected by Ads by Daugava?
1.If your computer has not been infected by Ads by Daugava, there are some tips for you to prevent the installation of Ads by Daugava.
1)Never forget to read the user agreement.
2)Select advanced option of installation and be sure that you will not install any bundled program or software.
3)Never agree to install any unfamiliar program or software.
4)Apply some special program to help you protect your computer.
2.If your computer has been infected by Ads by Daugava, you can follow the instructions below to remove it. If you have any questions, please leave a comment down below. Good luck and be safe online!
Remove Ads by Daugava manually through the steps below
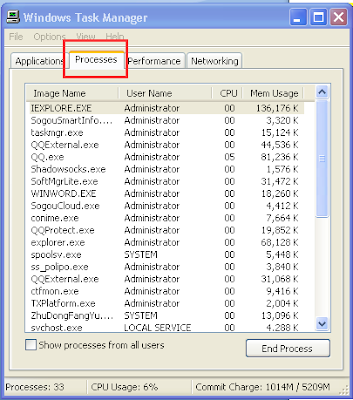
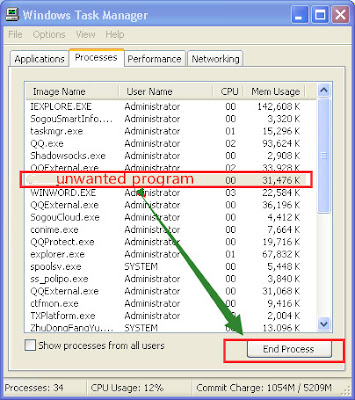
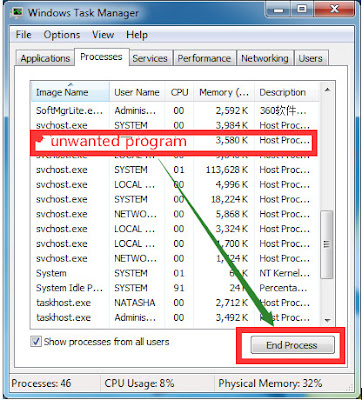
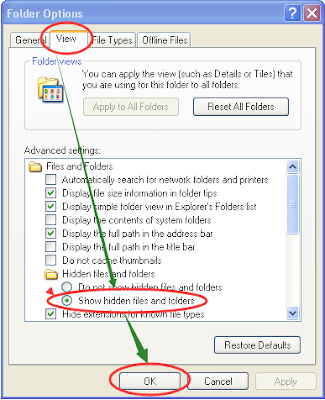
Firstly, stop the process from Task Manager by the following steps:
Windows XP users:
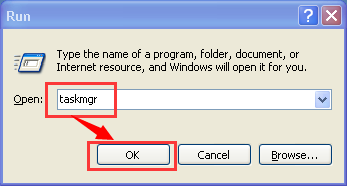
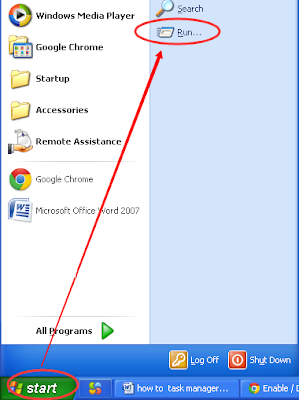
Step 1: Click Start ------the Windows Logo at the bottom left corner of your computer.Step 2: Click Run.

Windows 7 users:
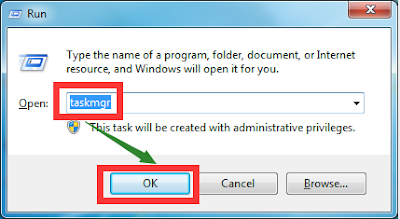
Step 1: Using the shortcut key by pressing key “Window” as well as “R”.Step 2: Enter“taskmgr” in the open box and click “OK”.
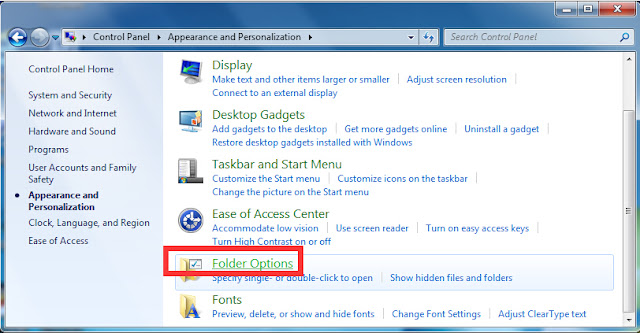
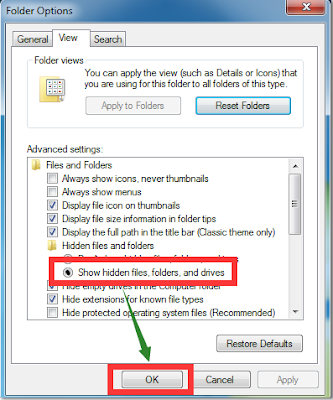
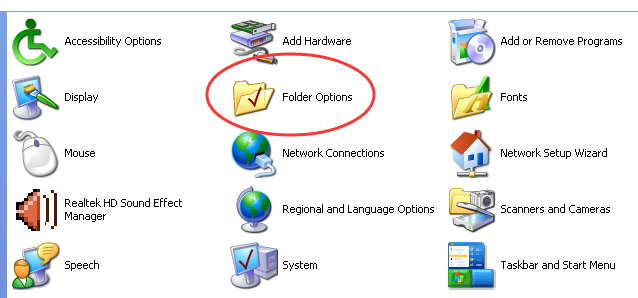
Secondly, if Ads by Daugava is not viewable in your computer, then it is harder for you to remove it. you can follow the steps below to show Ads by Daugava.
Windows 7 users:
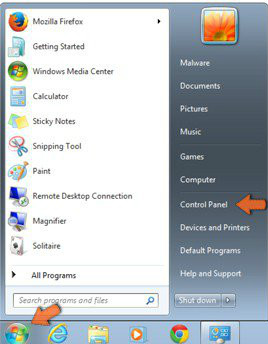
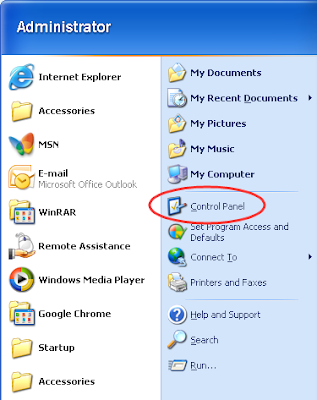
Step 1: Click Start ------the Windows Logo at the bottom left corner of your computer.Step 2: Click Control Panel.
Windows XP users:
Step 1: Click Start ------the Windows Logo at the bottom left corner of your computer.Step 2: Click Control Panel.
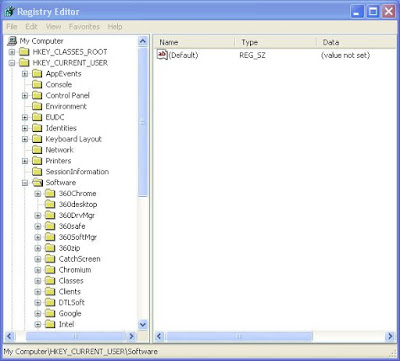
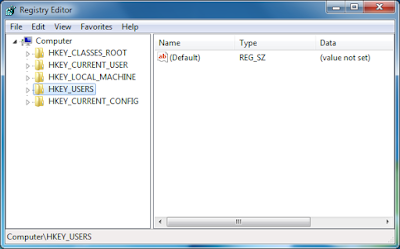
Thirdly, Start registry and delete related files.
Windows XP users:
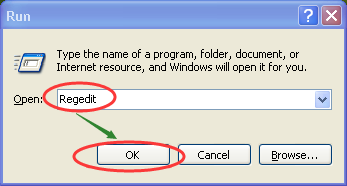
Step 1: Click Start ------the Windows Logo at the bottom left corner of your computer.Step 2: Click Run.
Windows 7 users:
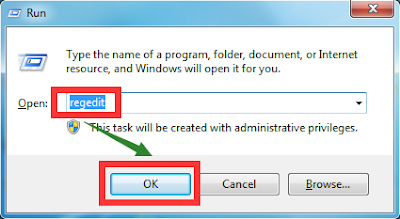
Step 1: Using the shortcut key by pressing key “Window” as well as “R”.Step 2: Enter“regedit” in the open box and click “OK”.
HKEY_LOCAL_MACHINE\SOFTWARE\Microsoft\Windows NT\CurrentVersion\Image File Execution Options\MpUXSrv.exe
HKEY_LOCAL_MACHINE\SOFTWARE\Microsoft\Windows NT\CurrentVersion\Image File Execution Options\MSASCui.exe
HKEY_LOCAL_MACHINE\SOFTWARE\Microsoft\Windows NT\CurrentVersion\Image File Execution Options\msconfig.exe
There is a video for manually removing similar adware.
Fourthly, remove suspicious extensions from browsers.
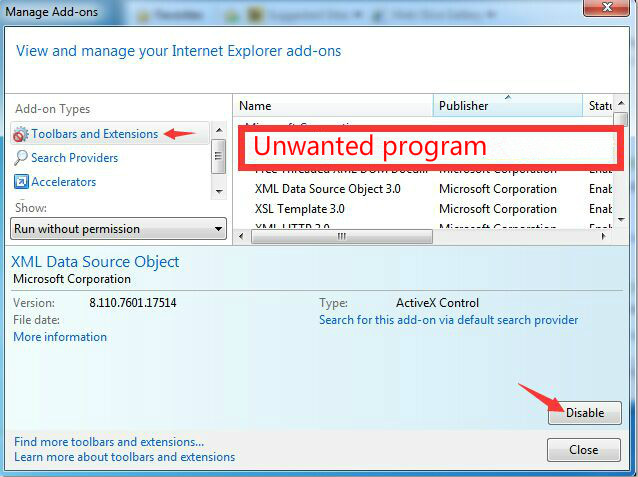
IE users:
Step 1: Tools > Manager add-ons > Extension.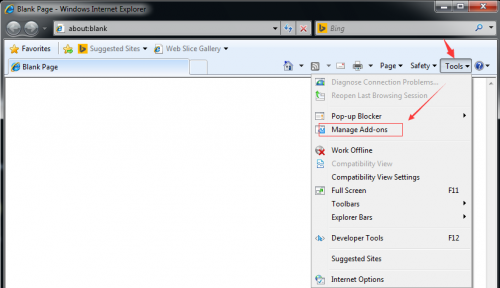
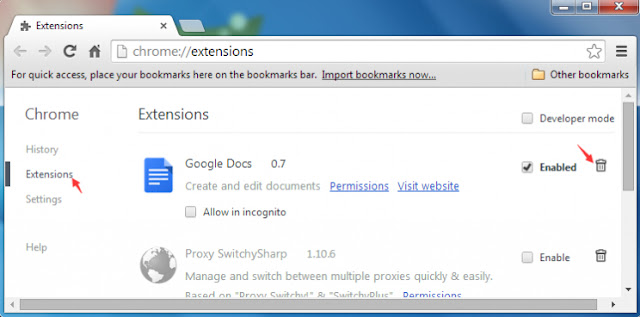
Google Chrome Users:
Step 1:control Google Chrome > More Tools > Extensions.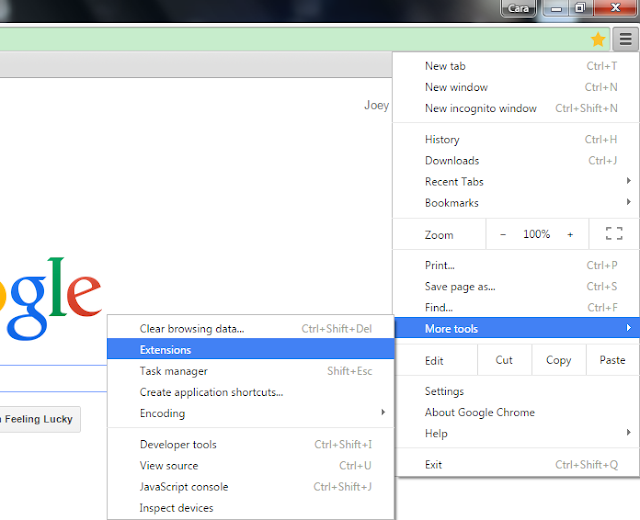
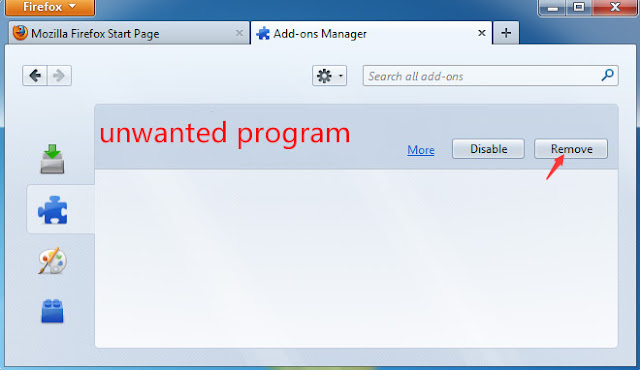
Mozilla Firefox Users:
Step 1: Open Mozilla Firefoxmenu > Add-ons > Extension.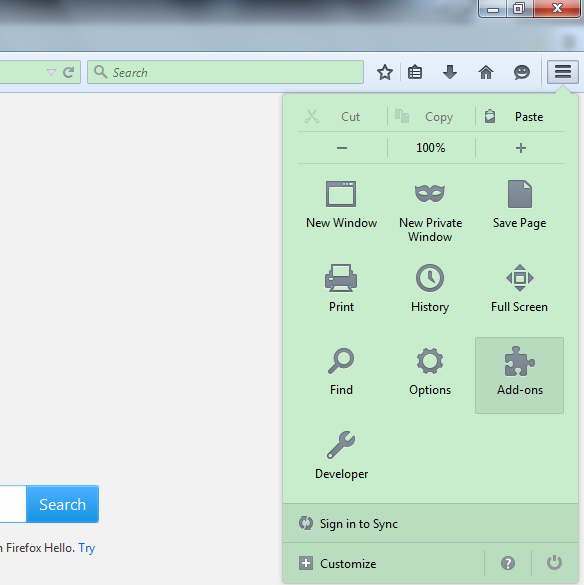
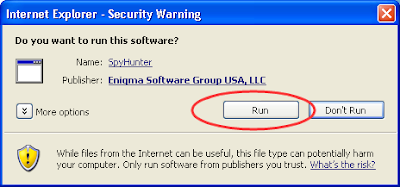
Remove it automatically with SpyHunter
Step 1: Download Spyhunter here.
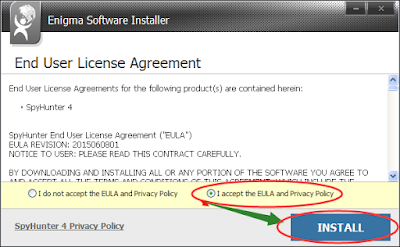
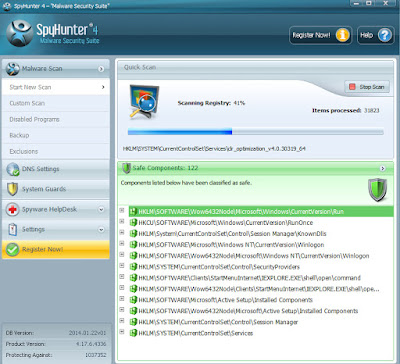
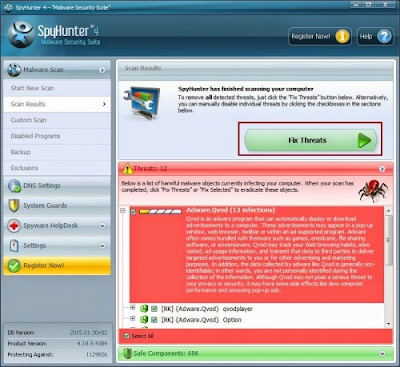
SpyHunter is a powerful, real-time anti-spyware application which can?assist the average computer user in protecting their PC from malicious threats. As malware continues to evolve and become more sophisticated, SpyHunter can effectively protect the average computer users’ computer from malware threats.
(Rachel)
(Rachel)
No comments:
Post a Comment